Kafka TCP Integration Guide
Review the following guide for setting up an integration between Manufacturing Connect Edge and a Kafka broker.
Before You Begin
You will need access to a Kafka-TCP broker.
Refer to the following links to learn more:
Step 1: Set up the Kafka-TCP server
You will need to set up the Kafka server so that it is ready to connect with Manufacturing Connect Edge.
To set up the Kafka-TCP server:
- Connect and log in to the Kafka-TCP server.
- From the command screen cursor, enter cat docker-compose.yml. The services list appears.
- From the cursor, enter docker-compose up. The TCP_Zookeeper and TCP_Kafka start up.
Step 2: Add Device
Follow the steps to Connect a Device. The device will be used to store tags that will be eventually used to create outbound topics in the connector. Make sure to select the Enable Data Store checkbox.
Step 3: Add Tags
After connecting the device in Manufacturing Connect Edge, you can Add Tags to the device. Create tags that you want to use to create outbound topics for the connector.
Step 4: Add Kafka TCP Connector
Follow the steps to Add a Connector and select the Kafka TCP provider.
Configure the following parameters.
- Name: Enter a name for the connector.
- Brokers list separated by comma: Enter the Kafka broker URL. For example: 192.168.56.1.
- SASL mechanism: Select an option: NONE, SASL_PLAINTEXT, SCRAM-SHA-256, SCRAM-SHA-512.
- Username (Optional)
- Password: (Optional)
- Topic: Enter the name of the default topic used for publishing data.
- Throttling Limit: The maximum number of messages per second to be processed. The default value is zero, which means that there is no limit.
- Persistent storage: When enabled, this will cause messages to undergo a store-and-forward procedure. Messages will be stored within Manufacturing Connect Edge when cloud providers are online.
- Queue Mode: Select the queue mode as lifo (last in first out) or fifo (first in first out). Selecting lifo means that the last data entry is processed first, and selecting fifo means the first data entry is processed first.
Step 5: Enable the Connector
After adding the connector, click the toggle in the connector tile to enable it.

If you see a Failed status, you can review the Connector Logs and relevant error messages.
Step 6: Create Topics for Connector
You will now need to import the tag you added in Step 3 to the connector as topics.
Topics must already exist on the Kafka server to avoid errors. Using non-existent Kafka topics will result in errors in logs, failed connection and/or persisted storage.
To create outbound topics:
- Click the connector tile. The connector Dashboard appears.
- Click the Topics tab.
Click the Import from DeviceHub tags icon. The DeviceHub Import dialog box appears.
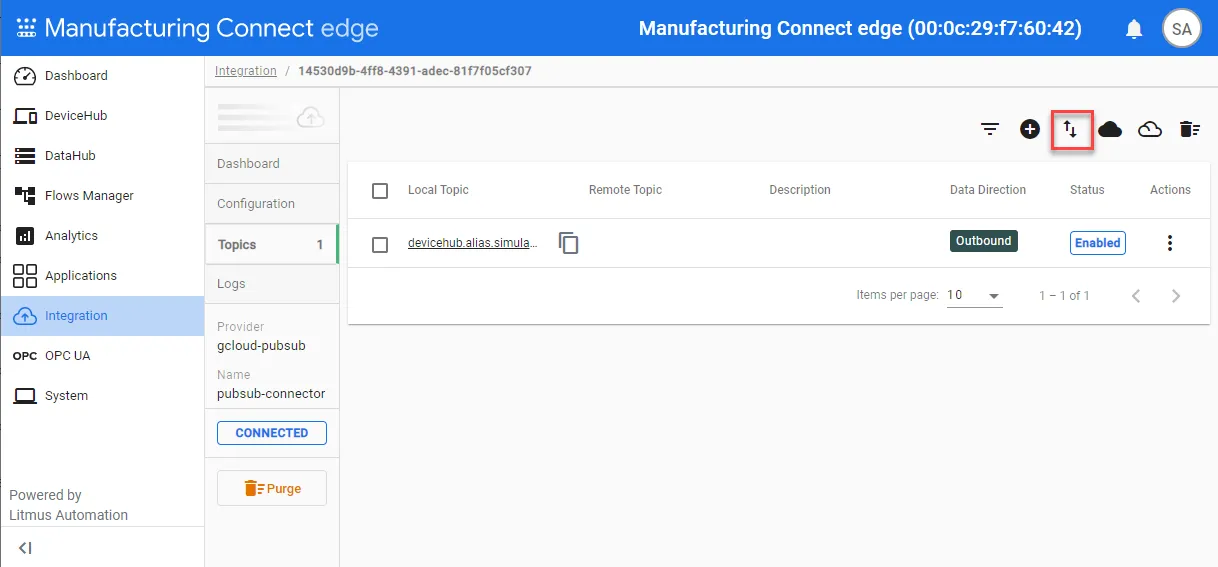 Import from DeviceHub icon
- Select all the tags to import and click Import.
After adding all required topics, navigate to the Integration overview page and ensure the connector is not disabled and still shows a CONNECTED status.
Step 7: Enable Topics
To enable the topics, return to the Topics tab and click the Enable all topics icon.
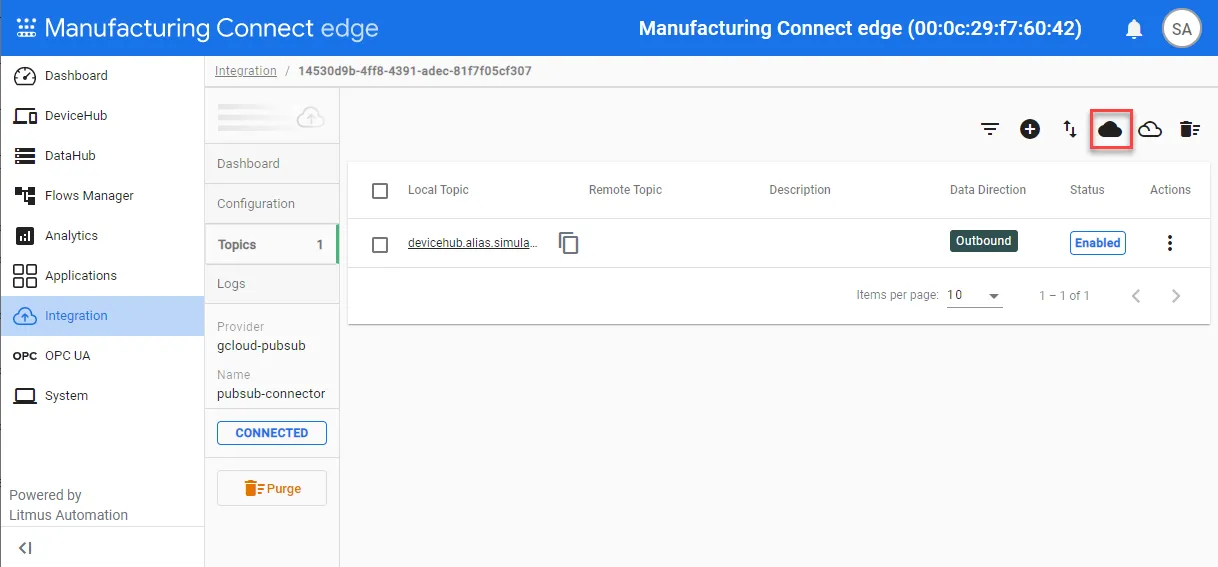
Step 8: Verify Connection
Access the Kafka broker and verify that Manufacturing Connect Edge is successfully sending data.